What is ray tracing?
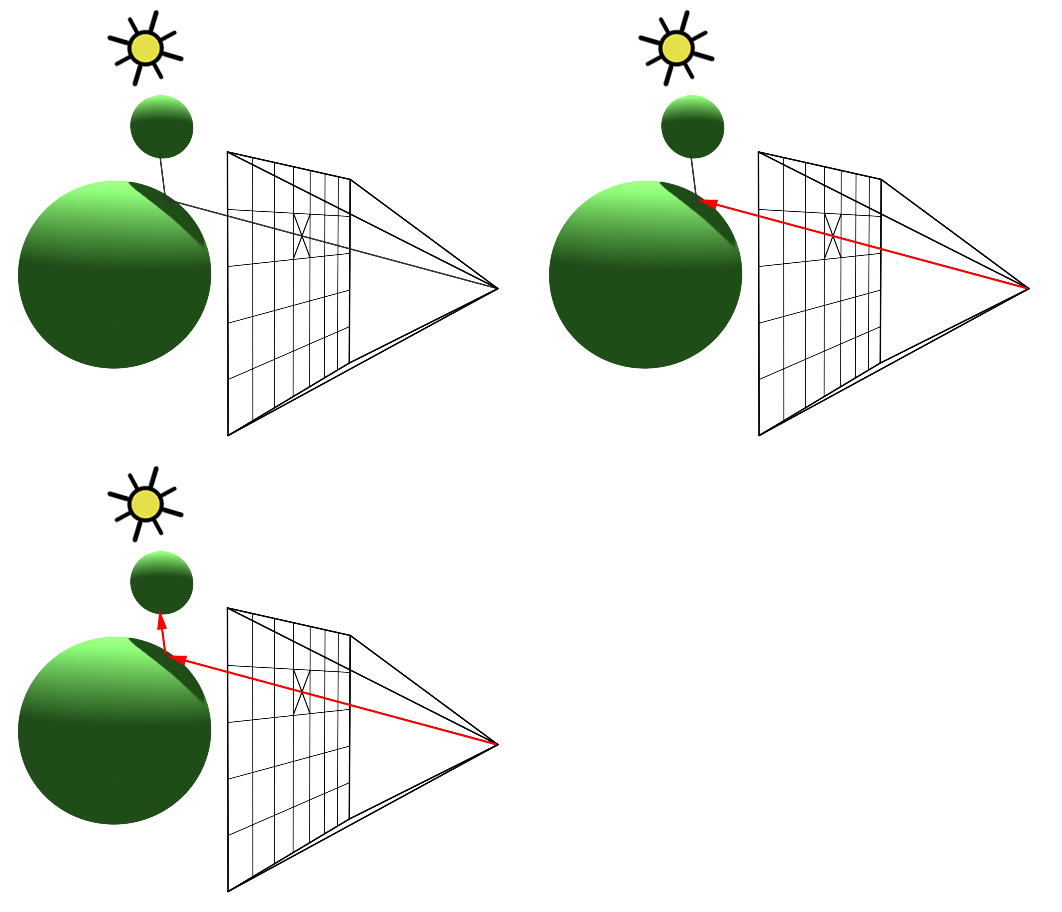
Ray tracing is a common technique for rendering images where light ray paths are traced. In short you cast primary rays from eye position through every pixel in an image plane. Then you calculate the intersection of the rays with scene geometry. Next, you cast shadow rays from the intersection points to the light sources. Finally, we assign a color to the pixels based on the intersections.
The above is the minimum for ray tracing. There are many extensions that can be implemented in ray tracing. Some of the extensions are described here with short implementation details.
0. Reflection
Reflection was my extra objective for A4. It simply involved recursively issuing secondary reflection rays from the point of intersection if the object has a non-zero reflectivity factor. The colour was blended with the colour produced by local illumination.
0.5 Multithreading
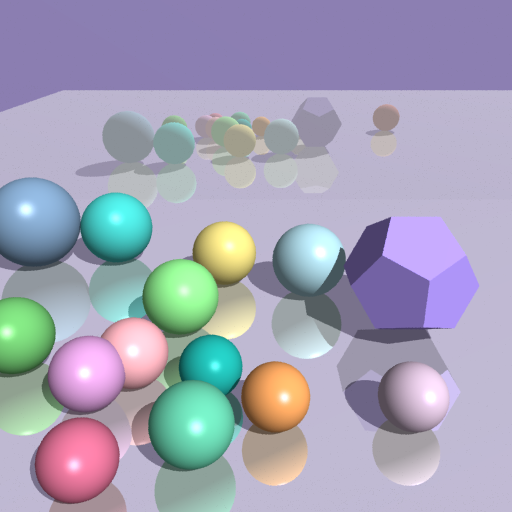
Multithreading was implemented to improve the efficiency of the ray tracer. Each thread is given a scan line job once they complete their current scan line job. This improves efficiency over dividing the rendered image into chunks for each thread to render since we have less idle threads if the image is clumpy (lots of intersections) in some areas but not in others.
| Time to render macho-cows (including BVH) | |
|---|---|
| Single threaded | 15.047s |
| 6 threads | 2.723s |
| 12 threads | 1.153s |
1. Antialiasing
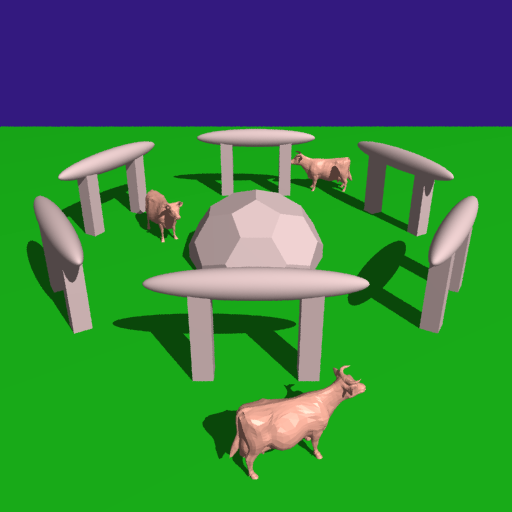
Antialiasing was implemented using supersampling. Each pixel has a number of rays (24 rays) sent from random positions in the pixel and the final colour is average using these samples. I made the antialising method adaptive so that it doesn't shoot out additional rays for every single pixel. The additional rays are only sent out if the color of at least one of the corners of the pixel differs from the others.
The image on the left is rendered without antialising. The one on the right is rendered with it. Notice the reduction of jagged lines outside the primitives and shadows.
| Without Antialiasing | With Antialising (24 samples) | With Adaptive antialising | |
|---|---|---|---|
| Time to render simple-cows.lua | 1.153s | 5.18s | 4.087s |
2. Primitives
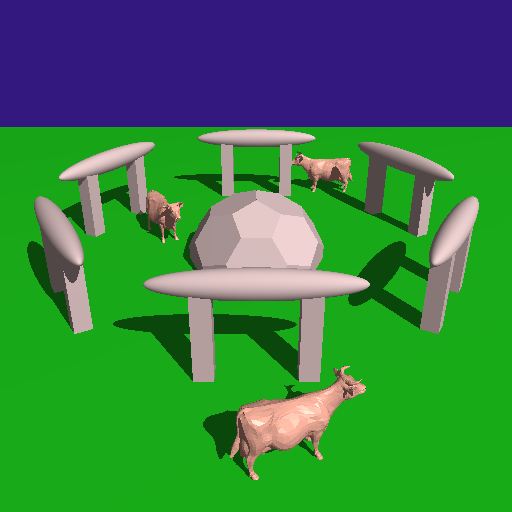
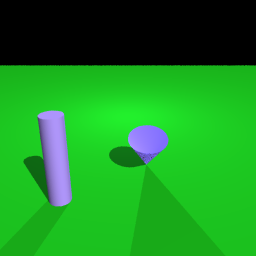
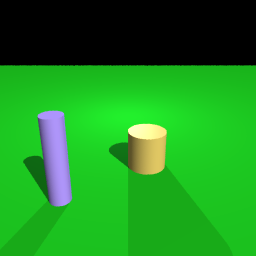
I implemented cones and cylinders as the additional primitives. This involved created new subclasses of primitives and implementing their intersection methods as well as creating new lua commands to create these primitives. I did ray-cylinder intersection by referencing here and ray-cone intersection by referencing this.
3. Texture Mapping
Texture mapping was implemented by generating barycentric coordinates for the primitive. These are then interpolated onto a texture image to retrieve the colour of the coordinate.
Bilinear filtering was used (referenced here ). This was used to smooth the textures when they're displayed at different sizes then they are. Bilinear filtering performs bilinear interpolation between the four texels nearest the point the pixel represents. I originally did not have bilinear filtering (simply interpolated the UV coordinates onto the texture map) but when I did bump mapping I noticed how badly the 'bumps' looked so I needed a different approach.

4. Bump Mapping
Bump mapping was implemented using the same raster file as texture mapping. With bump mapping we are modifying the surface normal at intersection. We do this by treating the texture map as if it's a single-valued height function. We don't use the value of the function but the partial derivatives to calculate the perturbed normal (to do this you need the tangent vectors to the normal which can be calculated using cross product operation). This adds realism to the objects without actually changing their geometry.
5. Acceleration Mechanism (BVH)
Bounding hierarchial volumes was implemented to accelerate rendering. This objective was quite complex as it involved changing a lot of code of Assignment 4. I implemented a BVH and stored an AABB (Axis aligned bounding box) for each BVH node. The leaf nodes being the AABBs for the primitives (or for the triangles of Meshes). Intersect goes through the BVH and only continues if the ray is within the AABB of the BVH node.
Note that my code for A4 simply looped through the entire SceneNode tree for every ray and checked for intersection against every Primitive and Mesh. Therefore, implementing BVH offers much faster rendering time!
| Time to render simple-cows.lua | Time to render macho-cows.lua | |
|---|---|---|
| Without BVH | 1m 23.35s | At least 30m! |
| With BVH | 4.219s | 4.639s |
6. Refraction & transparency
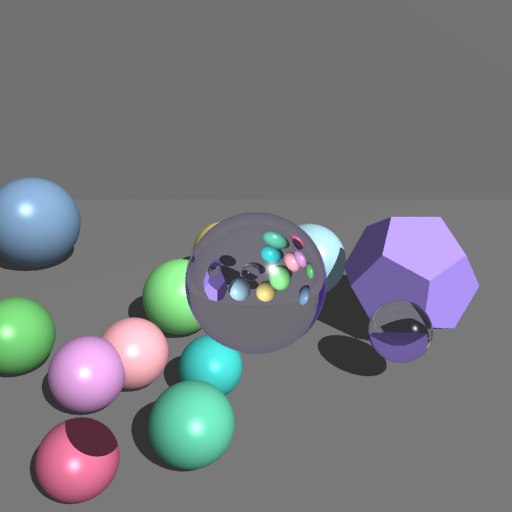
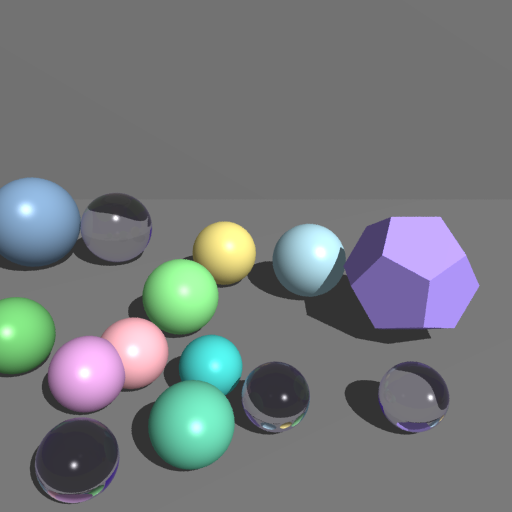
Refraction was implemented similarly to reflection. I casted secondary refracted rays using Snell's law for objects that have materials with an index of refraction. I then used Fresnel's equations to calculate how much light is transmitted vs reflected for materials such as glass and water.
7. Caustics via Illumination Map
Did not complete.
8. Soft Shadows
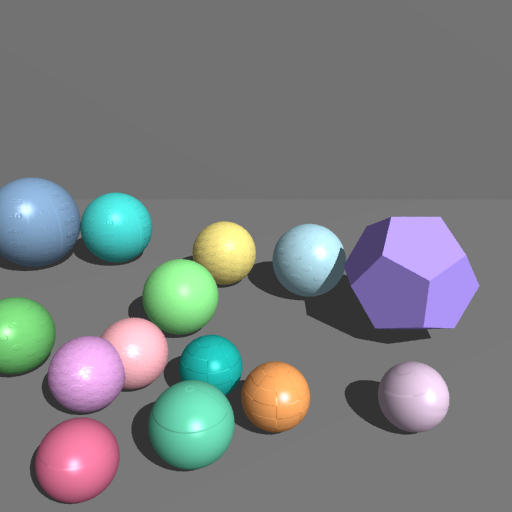
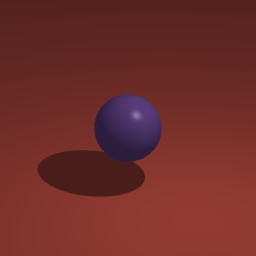
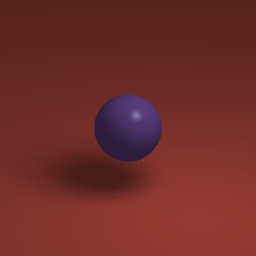
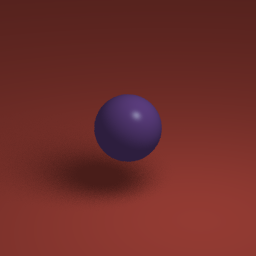
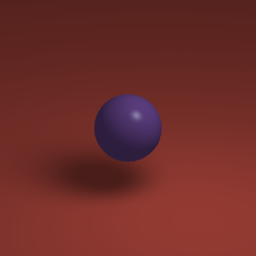
Soft shadows was implemented using distributed ray tracing. The light source is treated as if it's a spherical light source. Then many rays are randomly computed over the spherical light source and shot from the intersection point to the random light source point. The fraction of rays that that are "shadowed" is multiplied by the pixel's shading value computed.
The image on the left is rendered using a point source light. The second is generated using 5 randomized rays over a spherical light source, third with 10 rays and fourth image with 100 rays.
9. Animation
My favourite Pixar film is Up so I wanted to recreate the scene where the house flies up in the air. Unfortunately I had to simplify the scene a lot for time constraint reasons. Ideally I would have modeled the Up house in Blender and exported it as an obj file. I would have added a texture map for the background of a sky for realism.
This animation consists of 100 images. I created a Bash script to modify one of my lua files to move the balloons up by half a pixel for each file and then render all the images.

10. Final Scene
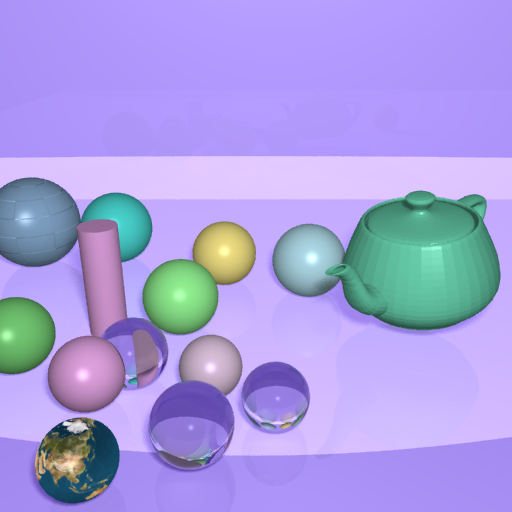
My final scene was simple. It used soft shadows, refraction, cylinder primitive, texture & bump mapping.
